This is a tutorial on how to setup your VirtualBox VMs to run off your Synology NAS via the fast iSCSI protocol.
– What is VirtualBox? VirtualBox is a high performant, free, easy and at the same time versatile virtualisation solution.
– Why VirtualBox? Because it’s free, easy to setup, cross-platform product that you can install at home/work and hasn’t let me down yet.
– What is Synology? Synology is a company that produces high quality NAS drives.
– Why Synology? Although not cheap, their NAS solutions are a good marriage between hardware and tailored-made actively maintained software. You can read further details on my Amazon review.
– What is iSCSI? SCSI is a protocol for fast communication between hard drives and computers. iSCSI is a protocol that allows SCSI commands over the wire (Internet/WAN/LAN).
– Why iSCSI? Don’t take my word for it, if you own an external HD or a NAS try storing the VMs there and point to them as mounted drives from VirtualBox. The latency will give you an answer.
Now that we got the theory out of the way let’s start with the setup!
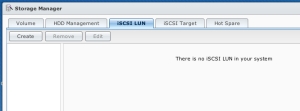
First stop, Synology DSM > Start Menu top left > Storage Manager > iSCSI LUN tab
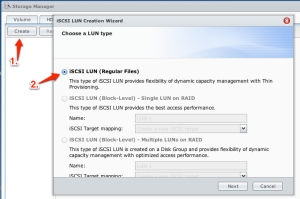
Then we create a new iSCSI LUN. In the wizard that pops up there is only one option available for me since I’ve gone for the SHR (Synology Hybrid Raid) while I was first setting up my drives. If you’ve gone for one of the vanilla Raid options you’ll be getting two more options to chose from:
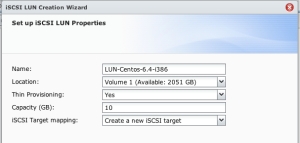
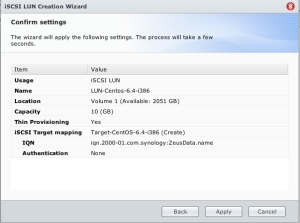
Next we give a descriptive name to the LUN to remind us what that slice in our NAS will be hosting, in my case it will be a CentOS latest distro for the MacbookPro non-x64 compatible architecture. We also setup the size (10GB in our example):
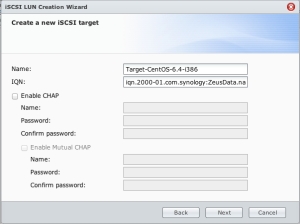
The iSCSI LUN that we are about to create will be associated with an iSCSI Target that our VirtualBox client will be connecting to. Following the same pattern of giving a descriptive name and letting the IQN identifier to its default generated one:
The next screen will be a summary page:
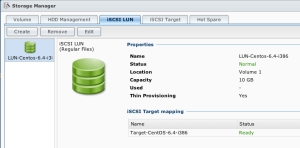
Our newly created iSCSI LUN shows now up on the Storage Manager tab list:
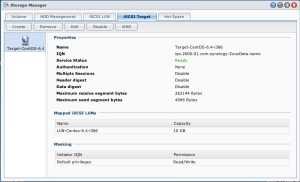
Same goes for the associated iSCSI Target that was auto-generated:
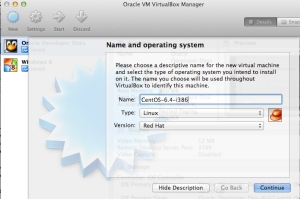
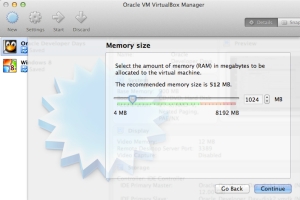
Our job is done in the Synology NAS, let’s head now to the VirtualBox:
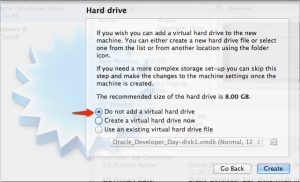
Next we have to tell VirtualBox not to rush and attach any drive yet since we’ll need to configure it first (unfortunately we can’t do that currently from the VirtualBox GUI):
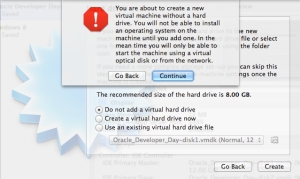
VirtualBox draws our attention that we’ll have to setup the drive eventually:
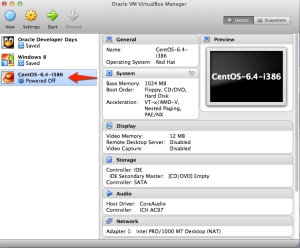
The VM now is successfully created, but we’re not done just yet:
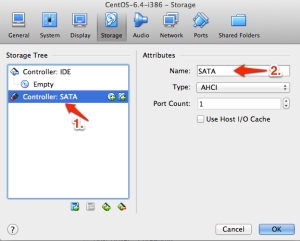
Next by right clicking on the VM > settings > storage tab we note down the name of the SATA controller (in our case simply set it up SATA).
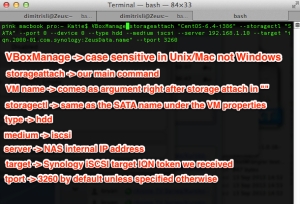
Here comes the hard part of the tutorial. We have to tell VirtualBox that our newly created VM will be using an iSCSI LUN slice created on our NAS. This step truly needs to be easy and intuitively done via the VirtualBox GUI but currently the functionality is not there. That’s where we need to rely on a command line VirtualBox command to set this up. The command is called VBoxManage that is visible in MacOSX Terminal after we install VirtualBox. In the Windows systems we’ll have to use the command prompt navigating first to the bin directory of VirtualBox where the VBoxManage command lives. Here’s the full command with further explanations of all the needed options:
Here’s the command in text (be careful to replace: 1. the name of the VM, 2. the name of the SATA controller, 3. the NAS IP address, 4. the IQN your NAS has set):
VBoxManage storageattach "CentOS-6.4-i386" --storagectl "SATA" --port 0 --device 0 --type hdd --medium iscsi --server 192.168.1.10 --target "iqn.2000-01.com.synology:ZeusData.name" --tport 3260
The command replies back with a unique identifier and a short message of success:
Let’s restart now VirtualBox and take a look at the properties of the VM.
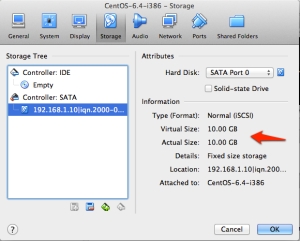
VM > settings > storage tab. Now we see the iSCSI target appearing and also notice how VirtualBox is picking up the size of the LUN set by our Synology configuration to be 10GB:
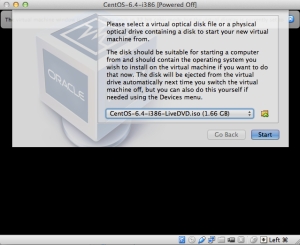
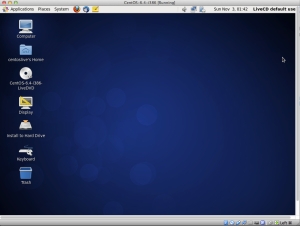
All is done now, let’s start the VM:
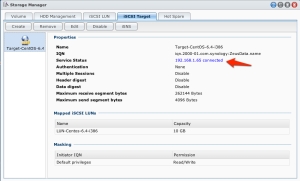
A final thing to mention is that while the VM is running, Synology DSM is capturing on-the-fly the iSCSI target device/status:
In case you want to erase the VM, before deleting the SATA controller and the VM itself from VirtualBox, with VirtualBox closed execute the following command (same as the one previously presented but with the argument ‘none’ for medium):
VBoxManage storageattach "CentOS-6.4-i386" --storagectl "SATA" --port 0 --device 0 --type hdd --medium none --server 192.168.1.10 --target "iqn.2000-01.com.synology:ZeusData.name" --tport 3260
Following this activity the VM, SATA controller in VirtualBox as well as the iSCSI LUN/Target in Synology can be deleted.
Many thanks … 🙂
Nice 🙂
Very useful article. Allowed me to use my QNAP NAS iSCSI with VirtualBox. One gotcha I had though, I copied the VBoxManage command and pasted it into OSX TextEdit to put my values in and TextEdit smartquoted things which I didn’t spot at first. It worked once I put regular quotes back in on the command line.
Thanks! Exactly what I needed for my new home/work NAS setup. Works with Synology DSM 6
nice !
Awesome Tutorial, worked for me. Thanks a lot !